Lockdown has set in. Our routines have flipped and our regular selfcare practices like going to the gym, and getting our hair and nails done have halted.
The good news is that we can still keep up with most of our selfcare routines at home, like giving ourselves a top-notch salon quality manicure! Here’s how:
Step 1: Grab your nail kit
To make your at-home manicure effortless from the beginning, gather your nail kit and the necessary tools including:
- Nail polish remover
- A Nail Diva (this is great for protecting your mani)
- A bowl (if you don’t want to do this after a shower)
- Cotton balls/pads
- A gentle exfoliant (I recommend the same scrub you use on your face)
- Moisturiser
- Cuticle oil
- Nail clippers and a nail file
- Nail polish: base coat, topcoat and the colour of your choice
Step 2: Remove nail polish
First thing’s first, you MUST (and I mean must) remove your old nail polish. Use your favourite nail polish remover, a cotton ball or pad, and clean your nails as best as you can. The more polish you remove the better your fresh mani will look.
If you find nail polish removal can get a bit messy, you can grab a Nail Diva (available for only $9) to hold your cotton ball/pad and to keep your fingers from soaking up the remover and excess polish.
Step 3: Soak
Take a shower or soak your fingers in a bowl of warm water for about 5 minutes, to soften your skin. If you want the full spa feel, add a couple of drops of your favourite essential oil into the water.
Step 4: Scrub
Now that your skin has softened, gently exfoliate your hands with a scrub for about thirty seconds. If your skin is cracked skip this step completely. Don’t overdo it either, we’re only scrubbing until our hands feel soft.
Step 5: Clip and file
Next, grab your nail clippers and clip your fingernails to your desired length. For a uniform manicure try and clip all nails to the same length. Use your nail file to smooth out the corners and edges and shape as desired.
Step 6: Show love to your cuticles
This step is often missed but so important for the health of your nails and overall clean look of your manicure.
Apply cuticle oil to your cuticles, push them back if necessary but try not to clip them. Our cuticles protect our surrounding skin and prevent infection. If you find that your cuticles are dry and hard, use cuticle oil every day or at least once a week to soften them up and keep your nails healthy.
Coconut oil is a great alternative.
Step 7: Moisturise and prep
Grab your favourite moisturiser and apply a good amount on each hand and forearm. While it’s soaking in, prep your fingernails by wiping them down with rubbing alcohol to remove the nail bed of any excess oils. If you miss this step your nail polish may chip or peel off faster than you’d like.
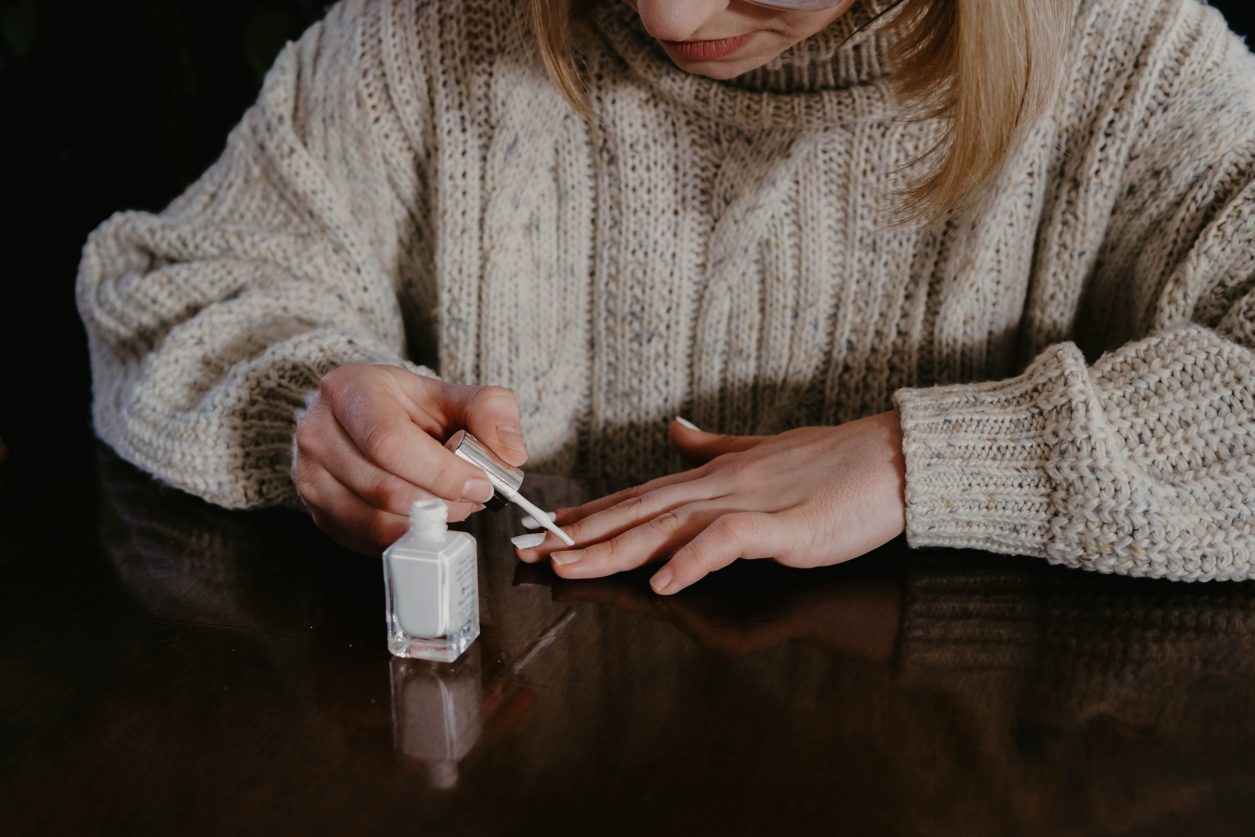
Step 8: Apply nail polish
Apply a base coat to protect your nails from staining, apply two coats of your favourite nail polish colour, and a quick-dry topcoat (my favourite is Essie – Good To Go).
If you’re not the greatest at painting your finger or toenails listed are a couple of tools that can help.
- For smudged and chipped polish, you can use a Nail Diva to clean a specific nail, protecting your other fingernails from getting ruined.
- If you’re a messy painter, you can purchase cuticle protector. Apply it to the skin around your nails before applying your nail polish and peel it off once you’re done.
Step 9: Maintenance
Moisturise often and apply cuticle oil at least once a week.
Daniella Quagliara is an entrepreneur, stylist, and nail enthusiast. Visit naildiva.ca to check out her latest invention and follow her on Instagram.